Subscribe to the Quilt Blocks Digest newsletter for updates, special offers & exclusive content!
- Home
- How to Make a Quilt
- 2. Stitch Blocks Together
Sewing Quilt Squares Together
How to Make a Quilt Part 2 of 7
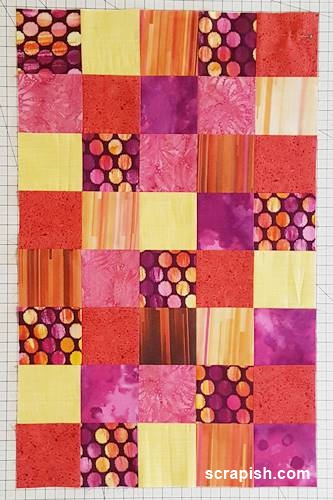
Sewing quilt squares together is how you make a quilt top! The how to of how you sew rows of squares together is a simple process!
Recall that at the end of How to Make a Quilt Step 1: Make the Blocks I told you that for the rest of the simple square quilt pattern you'll see 3 1/2 inch squares used to make the simple square quilt. This is done so that you see each step fully captured in the photo.
Do as shown in the instructional photos, but with your 8 1/2 inch squares.
In Part 2 (of 7) of this series on making a quilt, you will first sew the squares together. Then, sew the rows together.
How do you sew a row of squares together?
Steps 2-5 show how you sew a row of squares together. Basically, to sew a row of squares together move from left to right stitching the block on the right to the block on its left using a 1/4 inch seam. The block on the right is placed right side down on top of the block to its left. Align all edges. Sew the seam on the right hand side of the pair of blocks.
Sewing Quilt Squares Together Sewing Tip
To prevent your thread from bunching at the beginning of the seam, stitch across a scrap piece of fabric before stitching the seam of your squares.
Then, without breaking thread, slightly lift the presser foot and slide your pair of squares/blocks under it and continue to stitch.
You'll see this done in the instructions below.
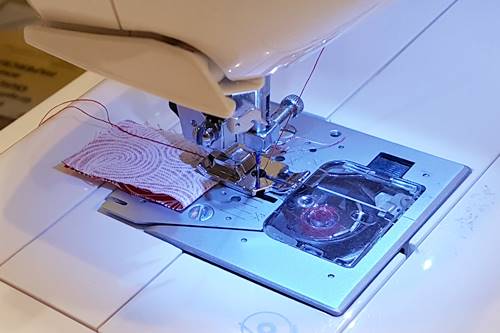
Alternatively, you can firmly hold both threads, stitch a few stitches then release the threads.
Sewing Quilt Squares Together Instructions
Arrange the Squares (or Blocks)
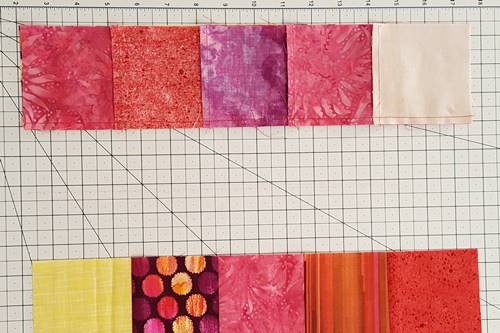
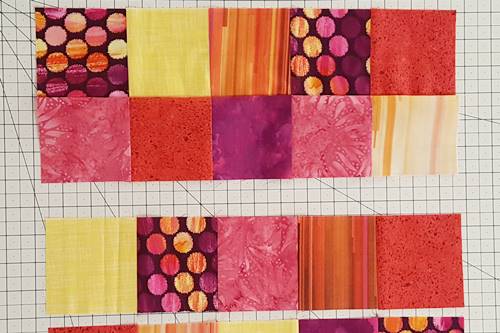
Step 1 Arrange the squares/blocks five per row for seven rows. (Yes, eight rows are shown in the photo. A little faux pas on my part.)
This is where you need some work space – floor, table or wall. If you use a wall, hang a piece of batting or felt backed tablecloth first. The squares/blocks will stick to the batting or felt.
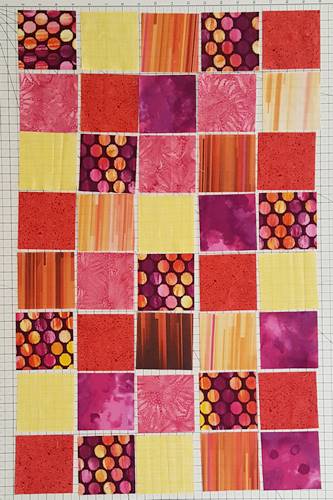
For your simple squares quilt the layout order of the squares do not matter. Simply arrange them in a way that pleases you. Try not to place like squares next to one another. But even if you do, that's okay. Whatever arrangement you like, that works!
Sewing Squares (or Blocks) Together
Step 2 Moving from left to right across a row, place square/block #2 with right side down on top of square/block #1. Align all the edges.
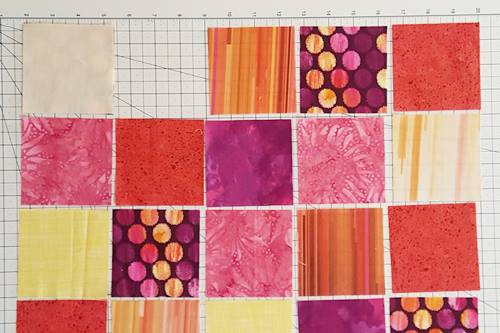
Step 3 At your sewing machine, stitch square/block #2 to square/block #1 using 1/4 inch seam along the right-hand side of the pair.
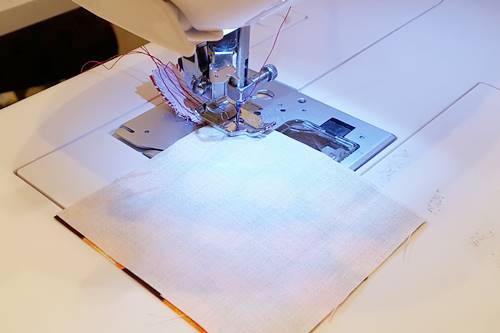
Step 4 Place square/block #1 back in its original position in the row.
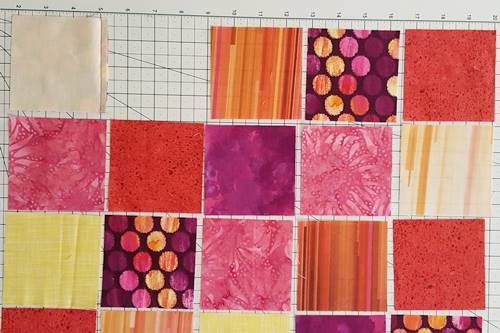
Step 5 Peel back square/block #2 revealing its right side up.

Step 6 Place square/block #3 with right side down on top of square/block #2. Align the edges.

Step 7 At your sewing machine, stitch square/block #3 to square/block #2 using 1/4 inch seam. Place the squares/blocks back in their original position in the row.

Step 8 Peel back square/block #3 to right side up.
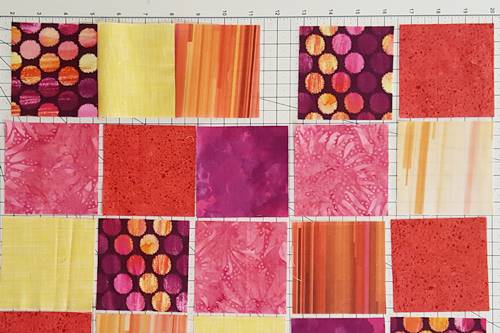
Step 9 Repeat Steps 2 - 5 for the remaining squares/blocks in the row, sewing the square/block on the right to the square/block on its left.
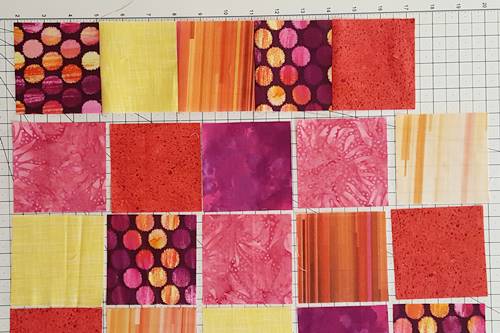
Step 10 The seams on the back side of Row 1.

Step 11 Repeat Steps 2 - 5 for all of the rows.

Pressing the Seams
Step 12 Press all the seams of Row 1 in one direction and press the seams of each row after in alternating directions. For example, press the seams of Row 1 to the right, the seams of Row 2 to the left, Row 3 to the right and so on.
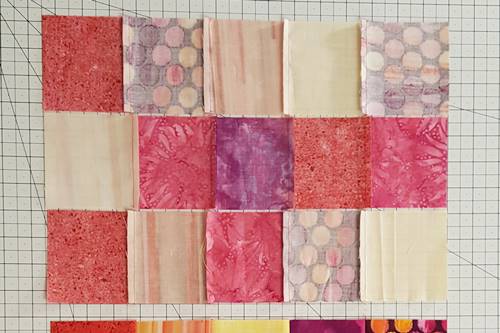
When you finish pressing a row place it back in its original position in the layout.
Note: As stitch more quilt tops no doubt you will find shortcuts to these for beginners step-by-step instructions. You will stitch blocks and rows together more quickly. But the process is the same for sewing quilt squares together.
Sew Rows Together
Look at how your rows are arranged (photo in Step 11). When you're done sewing quilt squares together, sew the rows together.
Moving from top to bottom, you sew the rows together. Start by sewing Row 2 to Row 1. Then, stitch the next row to the one above it.
Step 13a Flip Row 2 on top of Row 1 with right sides together. Align the bottom of Row 1 and the top of Row 2 together. Nest each seam and pin it.

Step 13b Here's a close-up of how each seam looks when nested and pinned.
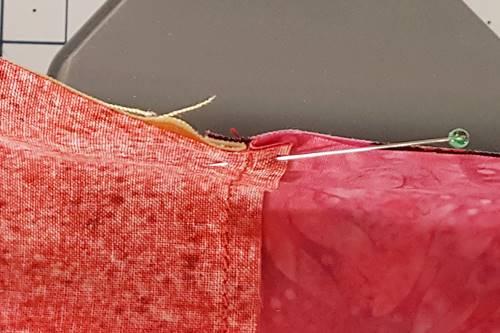
Step 13c Sew Row 2 to Row 1 using a 1/4 inch seam.
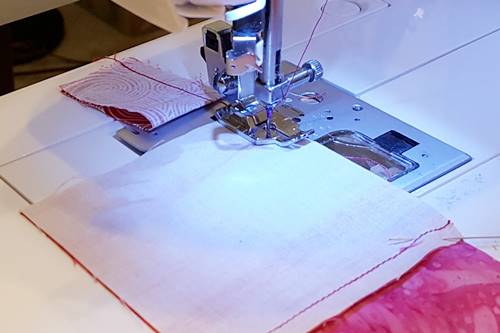
Step 13d Stitch to just before reaching a pin. Remove pin and continue to stitch.
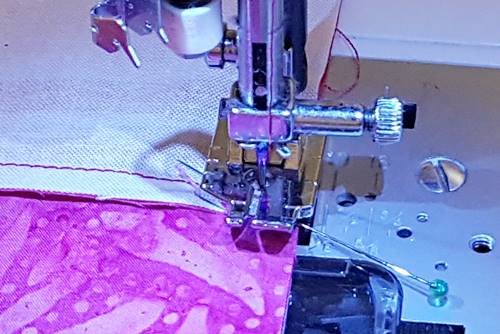
Step 13e Row 2 stitched to Row 1.
Step 13f Peel back Row 2 revealing its right side up.
Step 14 Repeat Steps 13a-f for each remaining row, stitching Row 3 to 2, Row 4 to 3, etc. until each row of the quilt top has been stitched together.

Here's a photo of the backside of the quilt top. It shows how the seams nest together.
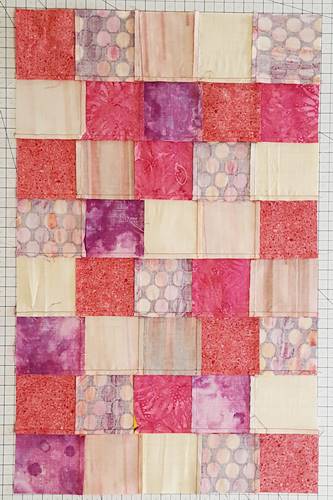
Your quilt top is done! See how easy it is sewing quilt squares together.
Next Step...
Now move on to How to Make a Quilt Part 3: How to Back a Quilt.
At a Glance...How to Make a Quilt in 6 Steps
- Make the Blocks
- Stitch the Blocks Together
- Back and Sandwich
- Quilt the Quilt
- Make the Binding
- Bind Quilt
Subscribe to the Quilt Blocks Digest newsletter for updates, special offers & exclusive content!
You will receive an email asking you to confirm your consent to subscribe. You must click on the confirmation link contained in that email in order to be subscribed and receive emails.
Your email address is never shared. Unsubscribe any time.
