Subscribe to the Quilt Blocks Digest newsletter for updates, special offers & exclusive content!
- Home
- Other Quilt Blocks
- Snowball
Snowball Quilt Block Pattern Tutorial
The snowball quilt block is so easy to make! It's not just for Christmas. Try Halloween or Thanksgiving fabrics. Or ethic and geometric prints for a modern look.
Snowball Block Sizes Chart
Any size square can be used to make this easy quilt block. For the large square, determine the finished size block you want, add a 1/2 and cut. For the small squares, see the chart below for suggested cut sizes. Experiment a little!
|
Finished Size 4 5 6 7 8 9 9 1/2 10 11 12 |
Cut 1 Large Square 4 1/2 5 1/2 6 1/2 7 1/2 8 1/2 9 1/2 10 10 1/2 11 1/2 12 1/2 |
Cut 4 Small Squares 1 1 1/2 2 2 1/4 2 1/2 2 1/2 2 1/2 2 1/2 3 3 1/2 |
The instructions below uses a 10 inch square. It's a perfect time to use any squares left over from layer cakes.
If you want to use squares in other sizes, cut width-of-fabric strips 1/2 inch larger (Column 2) than your block's finished size (Column 1) or use scraps.
For example, if you want an 8 inch block, cut 1 (8 1/2 inch) WOF strip; sub-cut 4 (8 1/2) squares.
Snowball Quilt Block Pattern Instructions
- All seams are 1/4 inch unless otherwise noted.
- Fabric A: various prints (blue Christmas themed 10 inch square)
- Fabric B: background color (light gray)
Step 1 Select 10 inch Squares and Cut 2 1/2 inch Squares
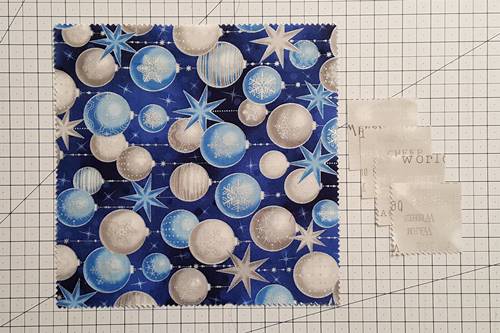
Select and gather your pre-cut 10 inch squares. Cut 4 (2 1/2 inch) squares for each snowball quilt block you want to make.
Step 2 Press
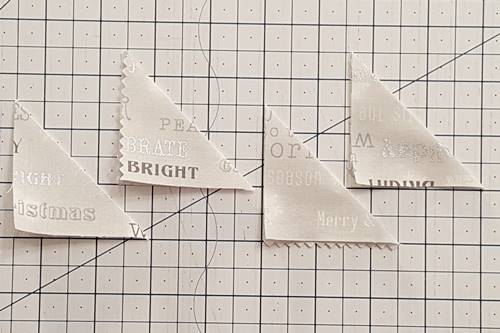
Press each small inch square in half diagonally.
Step 3 Prepare Corners
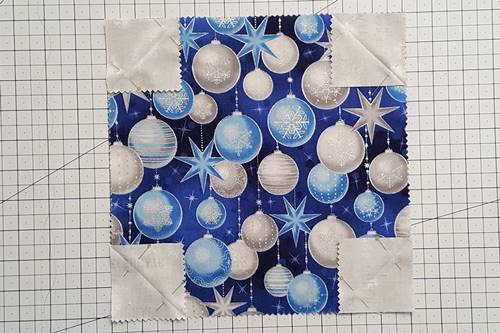
Place a small square on each corner of the 10 inch square.
Starting in the top left corner, the pressed diagonal line of each small square should be placed so that it is faced as follows: top left (/), top right (\), bottom right (/) and bottom left (\).
Pin each small square to the larger square, aligning raw edges with large square.
Step 4 Stitch Small Squares to Large Square
Stitch a small square to each corner of the large square by…
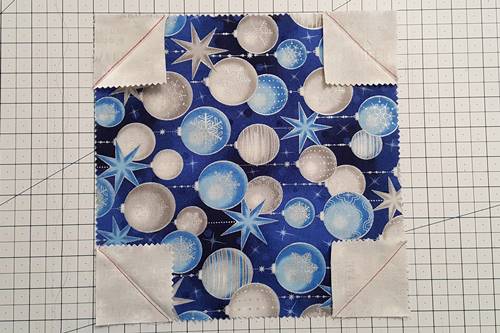
stitching the seam one or two thread widths away from the fold line on the side of the fabric that is to be cut away.
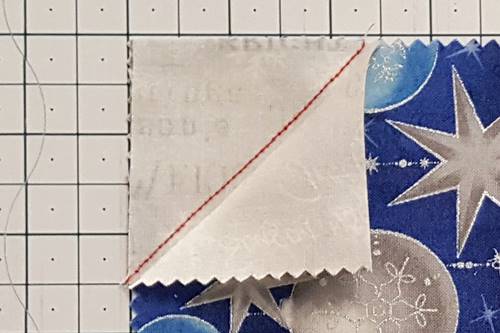
This helps to ensure that the fabric triangle that will remain covers the space left by that which is to be cut away.
Step 5 Clip Corners
Place the 1/4 inch measurement line of a straight edge quilting ruler along the seam of each corner square and cut away the top tips of the fabric.
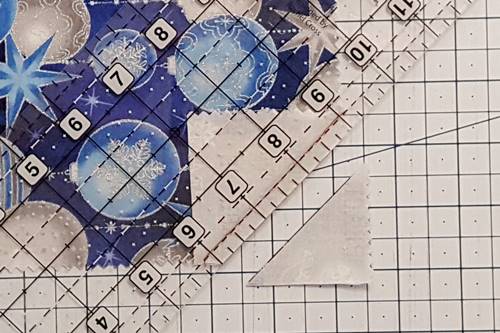
Step 6 Press
Use a hot iron to press (not pictured) each corner triangle right side up, pressing its seam toward the triangles.
Step 7 Square Corners
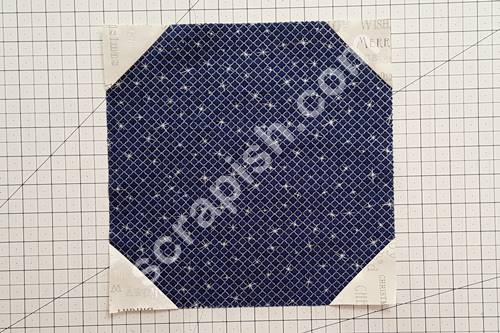
Use a quilting ruler to square of each corner triangle with the 10 inch square.
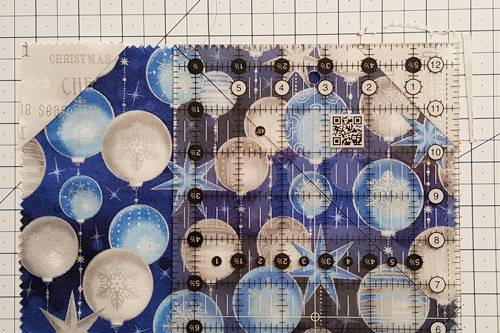
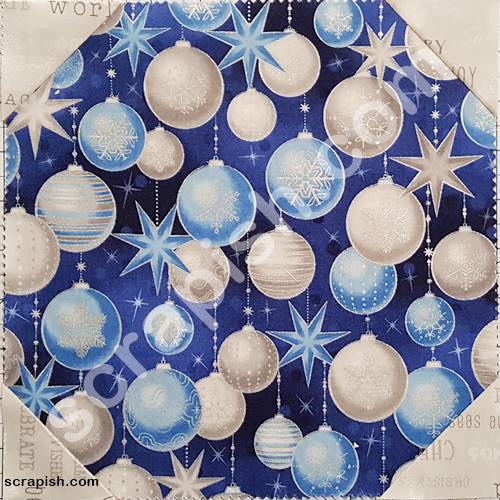
Your snowball quilt block should now be complete!
Alternative Way to Clip Corners
An alternative way to cut the corners on the snowball quilt block is to use a tool designed specifically for this purpose.
There are a number of these tools on the market. The one I use is called the Folded Corner Clipper by Creative Grids(R). The seam allowance is included in the design of the ruler.
Step 1 Position Folded Corner Clipper
Align the top blunt edge of the folded corner clipper with the top edge of the 10 inch square and small square.
The left side of the small square should align with the left straight edge of the tool.
The 45 degree diagonal line on the tool should align diagonally down the middle of the small square.
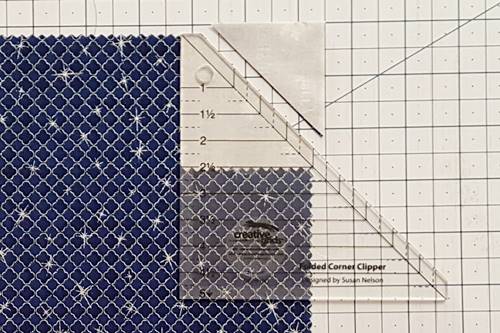
The bottom edge of the small square should align with the measurement line of the tool that is the same as its width (in this case 2 1/2 inches).
Using a rotary cutter, cut along the diagonal edge of the tool (clipping off the corner triangles and leaving enough fabric to stitch a 1/4 inch seam).
Step 2 Cut Corners
Use the tool to cut off the 4 corners.
Step 3 Stitch Seam
Then, stitch a 1/4 inch seam on all 4 corners.
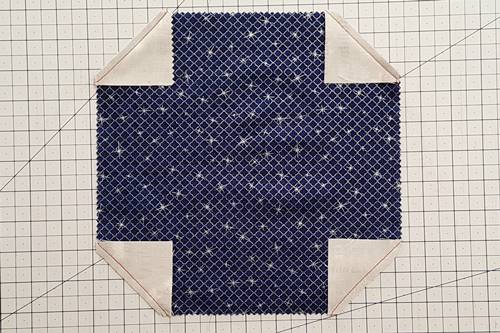
Snowball Quilt Block
Using the Folded Corner Clipper tool requires less work. You do not have to iron small squares or worry about the position of the fold.
Simply position the tool, clip and stitch!
Snowball Quilt Pattern Ideas
The snowball quilt block and an alternate plain block make a great quilt pattern.
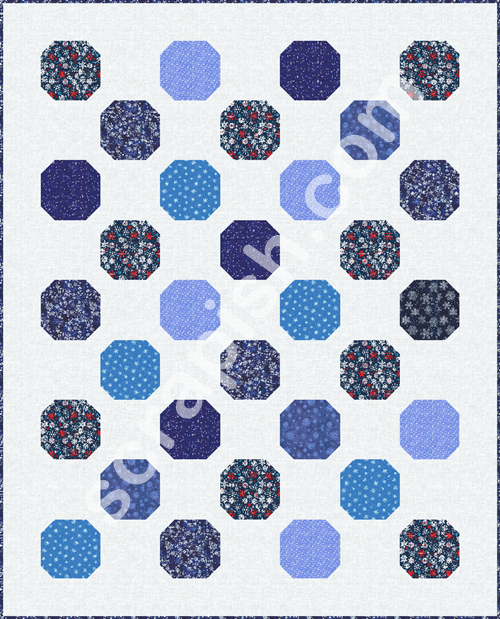 Christmas Snowball Quilt Pattern Idea
Change the prints to any holiday to change the look and feel of the quilt.
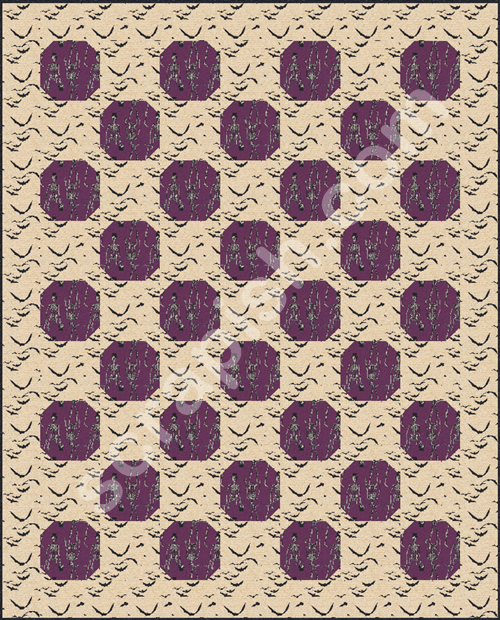 Halloween Snowball Quilt Pattern Idea
Try two for one: hearts and patriotic print for a lovely patriotic quilt pattern idea...
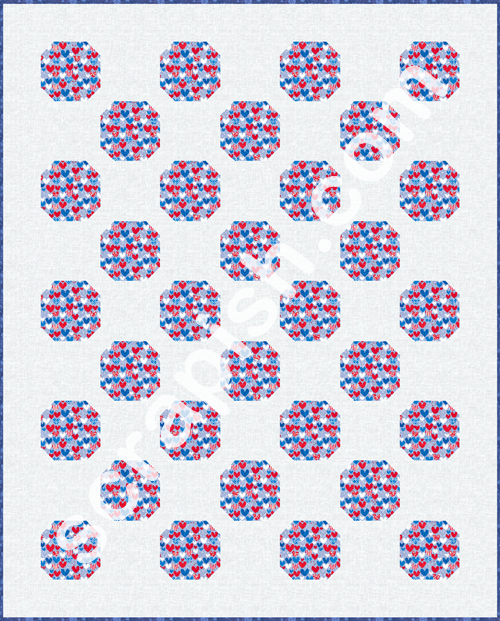 Patriotic Snowball Quilt Pattern Idea
Check out our free easy quilt patterns!
Subscribe to the Quilt Blocks Digest newsletter for updates, special offers & exclusive content!
You will receive an email asking you to confirm your consent to subscribe. You must click on the confirmation link contained in that email in order to be subscribed and receive emails.
Your email address is never shared. Unsubscribe any time.
