Subscribe to the Quilt Blocks Digest newsletter for updates, special offers & exclusive content!
- Home
- How to Quilt
- Stem for Leaf Quilt Blocks
Stem for Leaf Quilt Blocks Tutorial
See how to make a stem for leaf quilt blocks step by step with photos. Use the stem in blocks such as the fall or maple leaf.
To make a stem unit this way you need a starting square and a rectangle strip (stem) of fabric.
In general, cut a starting square 1 inch larger than the finished size of the stem unit needed.
Cut the fabric strip used to make the "stem" about 4inches longer than the size of the starting square. If you have a 7 inch starting square, cut an 11 inch strip for the stem.
As for the width of the stem fabric, I cut it 1 inch wide for a 1/2 inch wide finished stem. The width really depends upon how much "stem" you like to see in the finished block.
I usually like my stems to show at about half inch wide. I increase this width to 3/4 inches (starting width 1 1/2 inch) for larger (16 inch and above) blocks. Preference rules!
|
Stem Unit Finished Size (inches) |
Starting Square (inches) |
Stem Strip (inches) |
|
3 |
4 |
1 x 8 |
|
4 |
5 |
1 x 9 |
|
5 |
6 |
1 x 10 |
|
6 |
7 |
1 x 11 |
Quilt or quilt block patterns will let you know the size of the stem unit, and its components, needed to complete a quilt block.
Stem Units in Quilt Blocks
Two popular quilt blocks that have a stem unit are the Maple leaf and fall leaf quilt blocks.
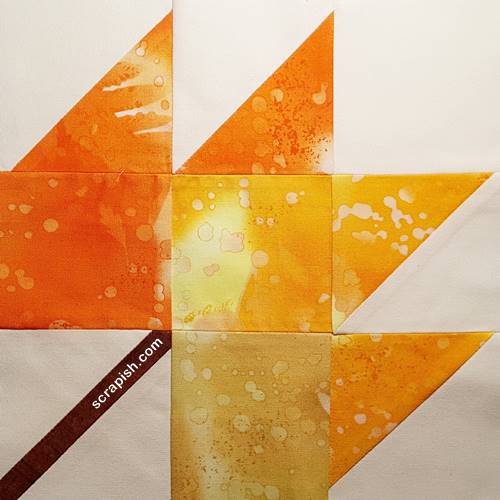 Maple Leaf Quilt Block Maple Leaf Quilt Block |
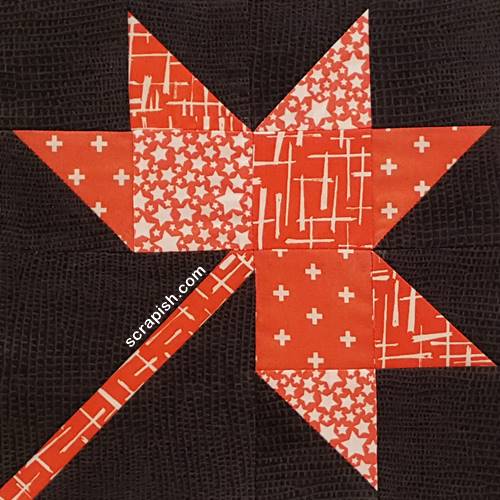 Fall Leaf Quilt Block Fall Leaf Quilt Block |
Note: Modern quilters may recognize this technique as an improvisational quilting technique called slice and insert that is used to make any number of modern quilt blocks.
Stem for Leaf Quilt Blocks Instructions
Step 1 Cut a starting square.
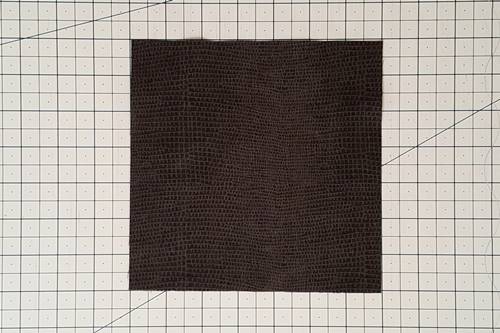
Step 2 Cut the square in half along one diagonal axis.
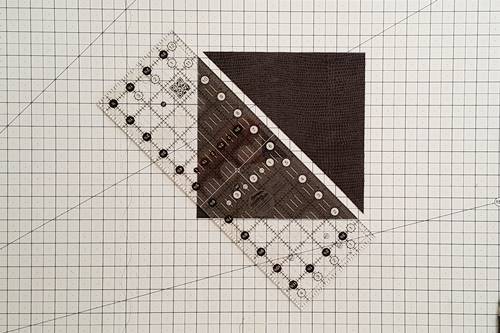
Step 3 With right side up, fold each triangle in half along its long diagonal (bias) edge and finger press a crease into the fold of the fabric.
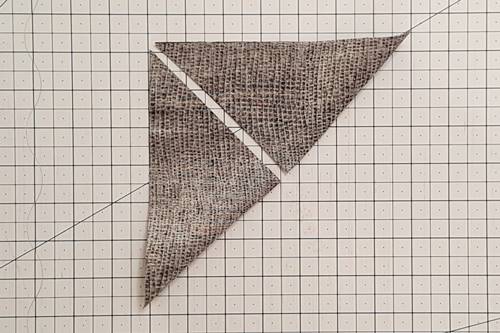
Step 4 Flip the triangles right side up. See the crease? (I hope so!) :-)
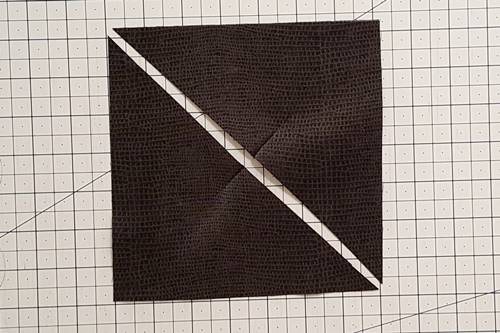
Step 5 With right side down, fold the stem fabric in half short end to short end and finger press a crease (it's there) into the fold.
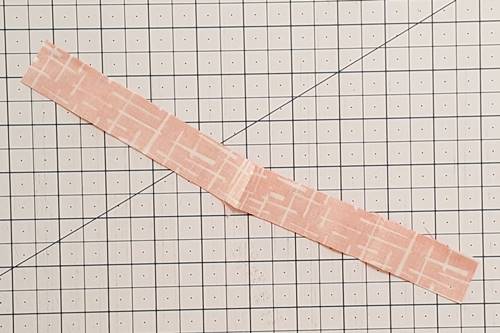
Step 6 Place all the components right side up with the stem strip in between the two triangles as shown below.
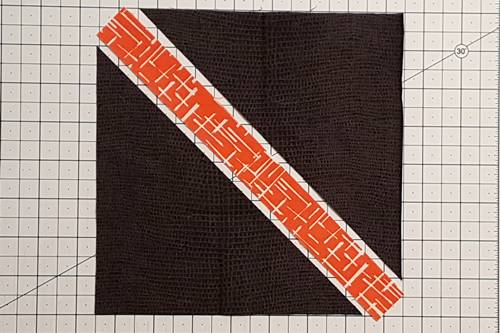
Step 7 With right sides together, place the stem strip on top of the triangle on the left. Match the center creases of both components. Align the edges and pin.
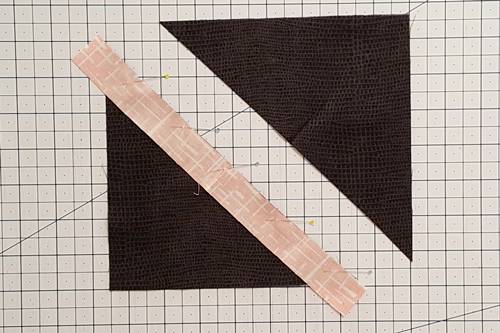
Step 8 Stitch a 1/4 inch seam.
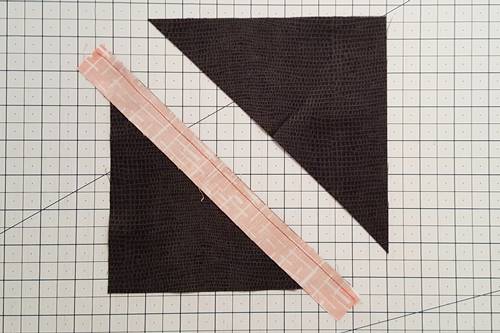
Step 9 Finger press, and then press with iron, the triangle away from the stem fabric.
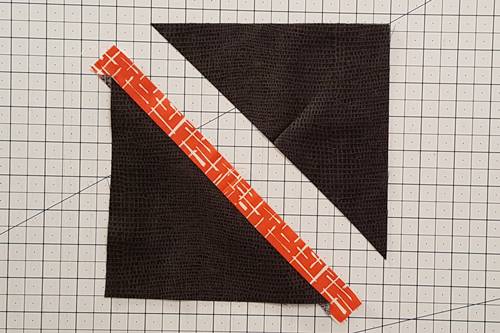
Step 10 Place the second triangle, right side down, on top of the stem fabric. Match the center creases of both components, aligning long edges. Pin if desired. Stitch a 1/4 inch seam.
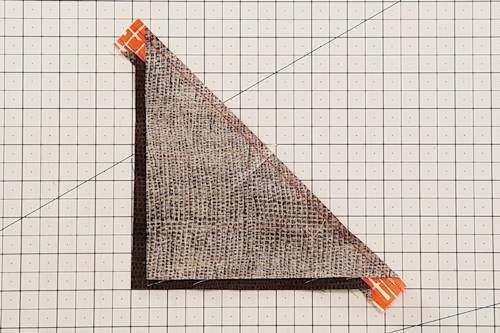
Step 11 Fold the second triangle right side up and finger press the seam towards it. Then, press it with an iron.
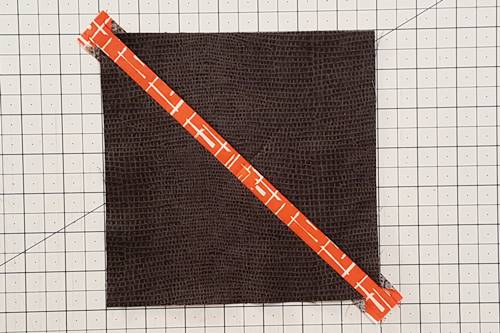
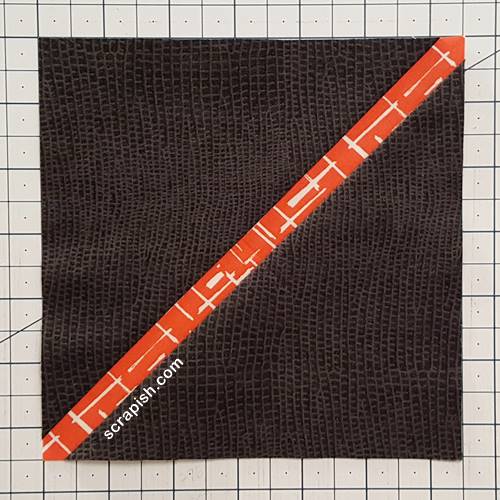
Step 12 To trim the stem patch unit place the diagonal 45 degree line of a quilting ruler down the middle of the stem.
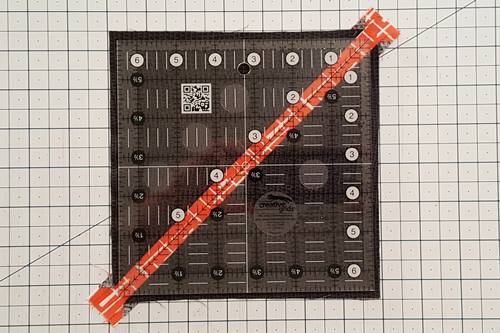
Step 13 Trim the stem unit to size, turning your cutting mat as necessary to get a better cutting angle. (Here, I trimmed the stem for leaf quilt blocks to 6 1/2 inches).
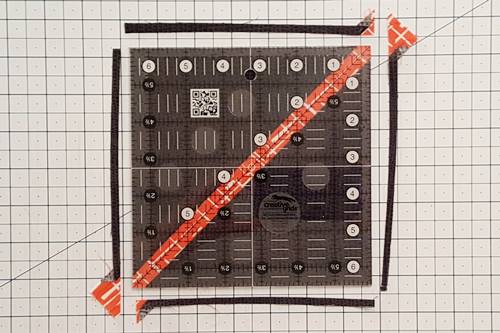
How to Make a Stem for Leaf Quilt Blocks
Making a stem for leaf quilt blocks is fun and easy! See it in use in the Maple leaf quilt block and the fall leaf quilt block.
So easy for beginners! And, it's a technique that can be added to the modern quilter's toolbox to make improv and modern quilt blocks.
Subscribe to the Quilt Blocks Digest newsletter for updates, special offers & exclusive content!
You will receive an email asking you to confirm your consent to subscribe. You must click on the confirmation link contained in that email in order to be subscribed and receive emails.
Your email address is never shared. Unsubscribe any time.
